Copying a Project
Recently the ability to copy a project was added to the latest Redmine. I thought it would be good to do a quick overview of how it the feature works along with a few screenshots of the process. Issue #1125 on Redmine.org has more details and discussion about the feature.
There are basically three short steps to copying a project.
Step 1. Select the project to use as the source of the copy
The source project will be the one where the data is copied from. Copying will copy the source project's:
- Project settings - excluding the Project name and identifier
- Project custom fields
- Members of the project and their Roles
- Issues - including issue assignments, time estimates, priorities, and statuses
There is also a plugin hook included so plugins can add data to copy easily. I've already modified the Redmine Budget plugin to copy Deliverables.
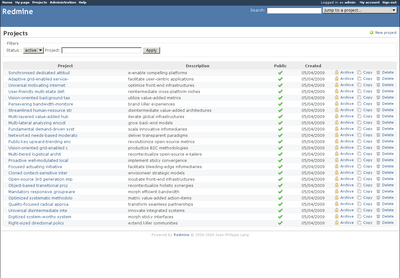
To select the project to copy, just click the "Copy" icon in the Projects panel, under Administration > Projects.
Step 2. Edit the project settings of the copied project
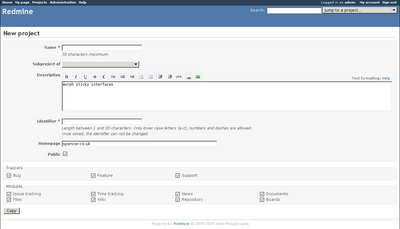
After starting the copy, you will be presented with a form for creating the setting of the copied project. This form is populated with the data from the source project but it can be changed before submitting. Once the settings have been setup, submit the form and move onto step 3.
Step 3. Check the copied project
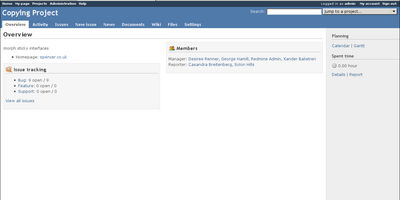
At this point you will now have a new project based on information from the source project. As you can see in the screenshot above, there was 9 issues and 6 members copied. This would be a good time to review the copied data to make any changes that are needed. Both projects are completely separate, you don't need to worry about changing something in one project and having it affect the other.
That's all there is to this feature. It's scheduled to be released in the upcoming Redmine 0.9.0. If you have any suggestions for improving it or have found a bug in it, please open a new issue on Redmine.org.
Eric


